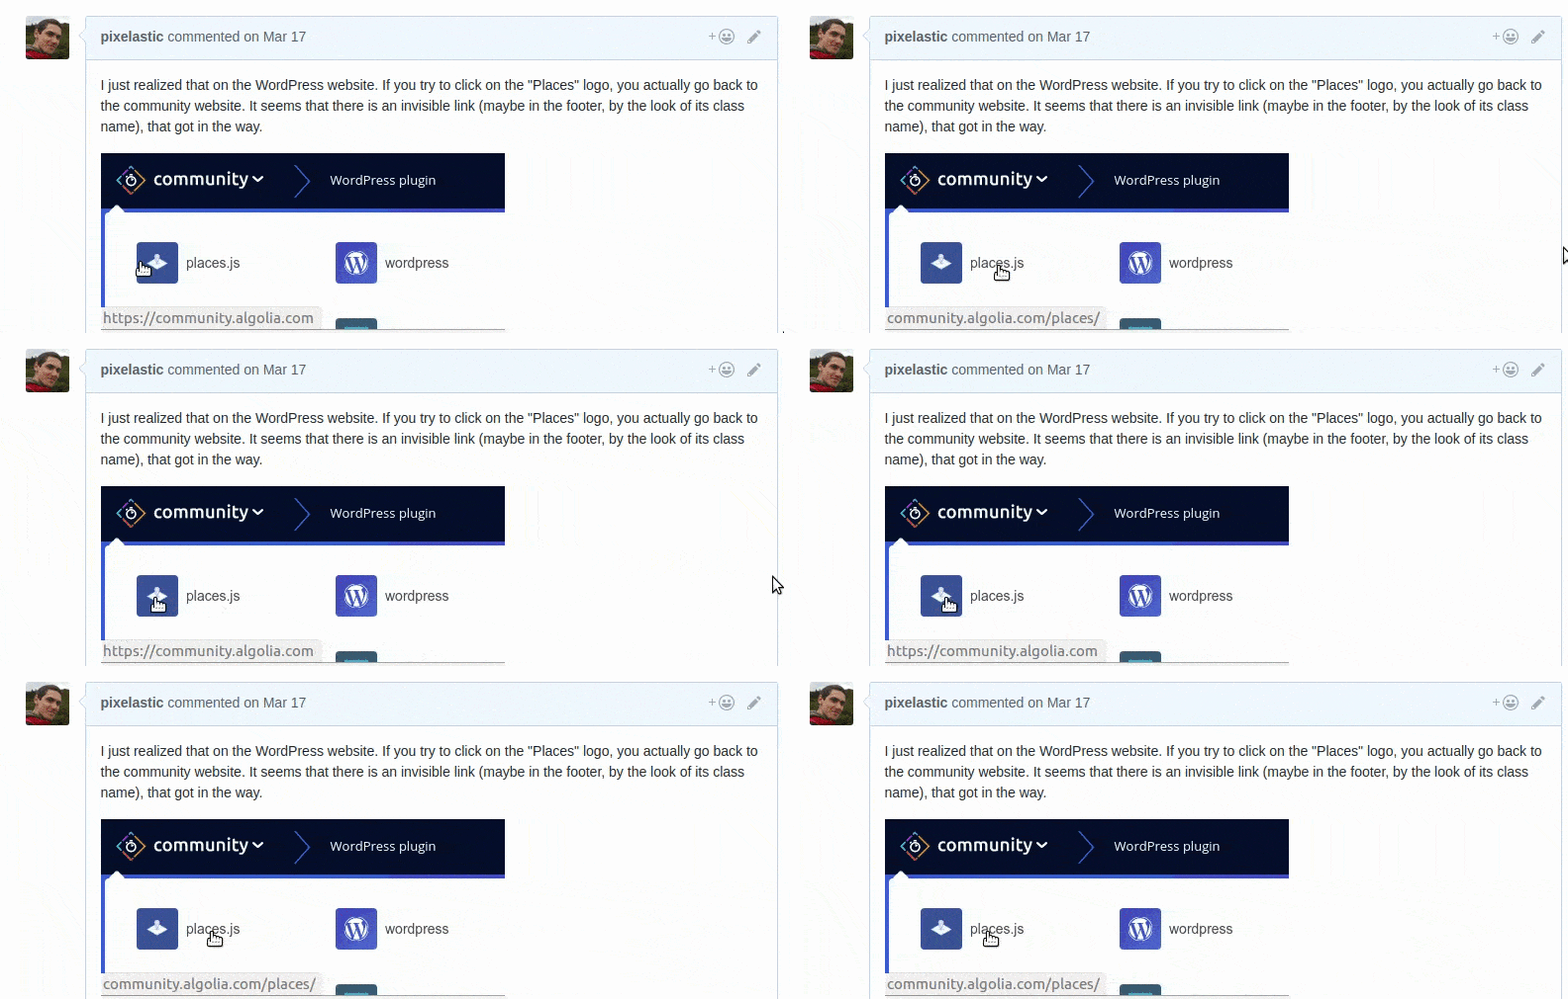
Creating a screencast from the commandline
26 Oct 2017A picture is worth a thousand words, that's why I always try to add screencasts when describing an issue I'm facing. I found it useful to be able to record my screen when I'm filing a GitHub issue about some UI or UX issue.

I have a method called gif-record in my command line toolbox that let me do that. It let me draw a rectangle on screen, record what is happening inside, and get a .gif as output to share as I please;
It seems pretty simple when explained like that, but is actually some kind of Frankeinstein's monster plugging command line tools together to get to the end result. In this article, I'll guide you through the pieces so you can build your own for your own needs.
First of all, I'm using slop with slop -f "%x %y %w %h" to draw a rectangle on screen, and get back the x,y coordinates, width and height. I then pass those coordinates to ffmpeg -f x11grab using the -s {width}x{height} and -i :0.0+{x},{y} options to tell it to record the screen at those coordinates.
ffmpeg comes with a lot of option flags, but what I'm using is -y to overwrite any existing file, -r 25 for a recording at 25FPS and -q 1 to get the best video quality possible.
To stop the ffmpeg recording, you can either Ctrl-C the command you started, or kill it by its pid. In my script (see link at the end of the article) I chose the second option, but won't get into more details about that here.
For the next step, I also use ffmpeg, but now that I have a video file, I'll convert it into a serie of still frames in .png format. The command I'm using is ffmpeg -i {input_video_file.mkv} -r 10 'frames/%04d.png'.
The -i marks the input file and the frames/%04d.png will define the pattern of the output files (in that case, they will be saved in the ./frames folder, with incrementing 4-digits names).
The -r flag is used once again to define the FPS. 10 is enough for my needs, as I record terminal output. It's smooth enough while keeping the filesize small, but feel free to increase it. I decided to keep my recording at 25FPS to have the smoothest recording possible, but adjust the still frame FPS depending on how smooth I want the end result.
Once I have all my still frames, I'll combine them into one .gif file. At this point, I would recommend removing some of the first and last frames as I always end up recording some garbage at the start and end. Determining the number of files I need to delete is easy to calculate based on the FPS I defined; if I want to remove 2 seconds at the start with and FPS of 10, it means removing the 20 first frames.
Converting png files into an animated gif can be done using convert (it's included in ImageMagick). The basic syntax is convert ./frames/*.png output.gif, but I also add the -delay 10 option to the mix. The actual value to pass to -delay will require some basic math: it should be equal to 100 divided by the FPS you defined earlier. For my previous example of an FPS of 10, the delay is 10, but if you had chosen an FPS of 25, the delay should then be set to 4 (100/25 = 4)
By default the generated gif will play once and then stop. I can control the number of times it loops by using the -loop option. A value of 0 will make if loop indefinitely (my favorite).
At this stage I thought I was done, but the generated gif will most certainly be too heavy to upload to GitHub issues as it's not optimized at all.
Compressing a gif will require a tool called gifsicle. But I should not use the official one but its giflossy fork. The original gifsicle does not have an option to compress files in a lossy format while giflossy (as the name suggests) can. Why are there two versions of the same tool in diverging branches? Well, OSS is hard.
Anyway, once the gifsicle fork is installed, I can used it with gifsicle input.gif --lossy=80 -o output.gif. The lower the value I pass to --lossy the more aggressive the compression will be. I also add --colors 256 to force the conversion of into a 256 palette.
And that's it. By plugging all those tools together, I now have a way to record parts of my screen and share the outputy, directly from my terminal.
You can have a look at my full implementation, wrapped in a ruby script if you're interested. You should also have a look at gifify which is the tool that I was originally using for converting videos to gif files.
Want to add something ? Feel free to get in touch on Bluesky : @pixelastic.bsky.social